Tutorial 3: How to manipulate 3D objects
In 3dviewnix 3D objects are manipulated using the Manipulate module.
It is a very powerful tool that can do a variety of operations.
This tutorial takes you step by step through some of the important
features of this module.
- Select "MANIPULATE" on the main menu with the left mouse button.
- When the MANIPULATE menu comes up, select "Input".
- Highlight "EXPER_00 BS0 ..." with the left mouse button.
- Select "SEL FILES" with the left mouse button.
- Select "Separate".
- Select the "ROTATE" button on the panel.
- Click the left mouse button on the image window.
- Move the mouse down to rotate the skull to about 90 degrees. The angle is
reported in the dialog window message area. Click here to see the complete 3dviewnix screen.
- Click the right mouse button (DONE rotating).
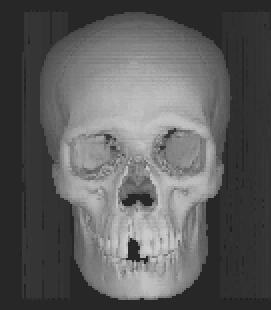
- Click the left mouse button on the image.
- Draw a curve around the mandible by clicking the left mouse button.
Click the right mouse button to close the curve.
- Click the left mouse button outside the curve on the image window.
- Click the left mouse button on the "DEPTH OF CUT" scale.
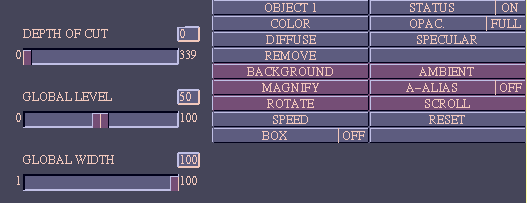
- Click the left mouse button to increase the scale resolution.
- Move the mouse to get a value of 100.
- Click the right mouse button.
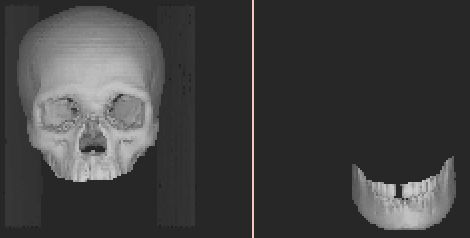
- Click the middle mouse button on the image window. The cutout piece should appear on the right.
- Click the middle mouse button on the cutout piece.
- Select the "COLOR" button on the panel.
- Adjust the color values using the color scales the same way as you used the
"DEPTH OF CUT" scale.
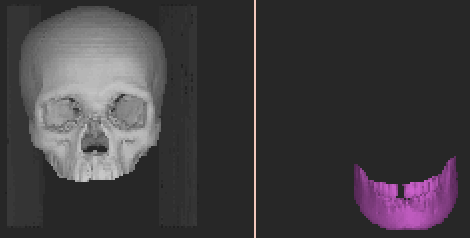
- Click the right mouse button on the image window (DONE Separating).
- Select "Move" on the MANIPULATE menu. The two cut pieces should appear
together.
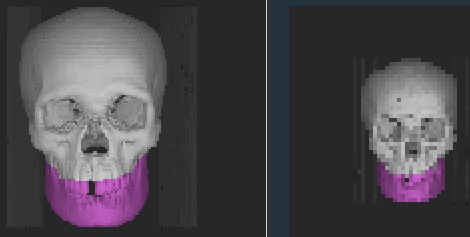
- Click the middle mouse button on the big piece.
- Select the "MOBILE" switch on the panel to say "NO".
- Click the left mouse button on the image window (MOVE OBJECTS).
- Click the middle mouse button on the image window (INTERACTIVE).
- Without moving the mouse, click the left mouse button twice to show "Z"
highlighted in the left mouse button action indicator. If the mouse moved
before you clicked, move it back to 0 degrees.
- Move around the center of the main image area to about 90 degrees.
- Click the right mouse button (ACCEPT).
- Click the left mouse button on the image window (ROTATE).
- Move the mouse right to rotate the cutout piece about 15 degrees.
- Click the right mouse button (DONE).
- Select the "ROTATE" button on the panel.
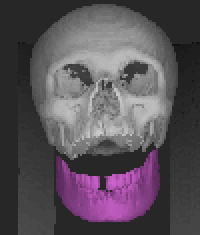
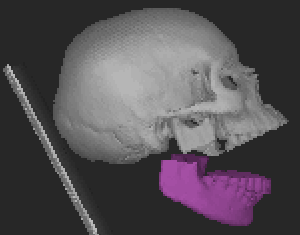
- Rotate the objects to view them from various angles. If you got this far and
cannot figure out how to do this, please refer to the instructions that came
with the software.
- You may now wish to go back to the Separate command and modify the cut by
cutting some material from one of the objects, which will go to the other.
You can cut back and forth until the partitioning is to your liking.
 User Manual
 Library Ref. Manual
 Tutorial


 User Manual
 Library Ref. Manual
 Tutorial
